Saturday, November 5, 2011

Headband Part 3

 Ok… the third and final chapter of this amazing headband!!!  The only other thing you will need is 2 18" pieces of ribbon, (the white) and 2…. 4" pieces of ribbon.   :)   Oh… and a glue gun!


To see the other parts of this tutorial, go herehere, and here.   :)


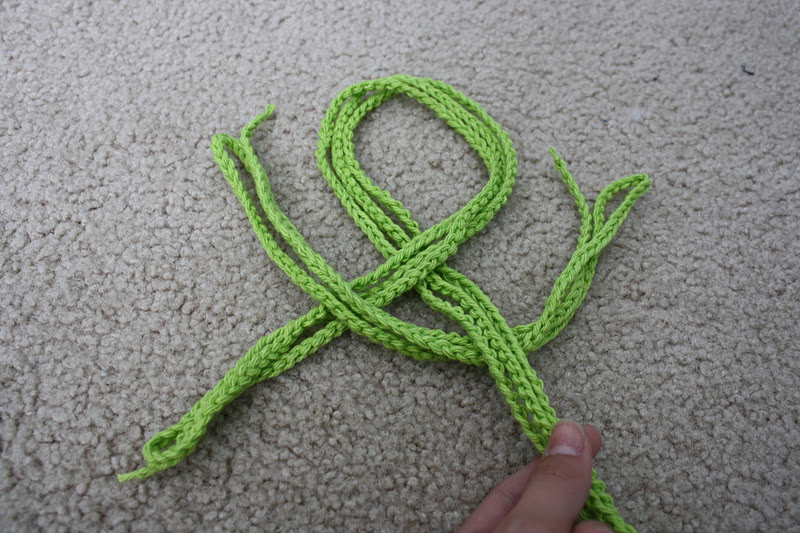
Now take all of your end yarn pieces and lay them out so none of them are overlapping each other.


Now take your glue gun and glue the ends together!!!


Keep on gluing until all your ends are glued together.  :)


Then snip the ends to make a clean cut… just make sure all the ends stay glued...


 I also glued this part… where my finger is, to keep it from gapping.


                                             SEE???  Much better.  :)


Wrap this ribbon around gluing as you go...

Do this to both ends…. and…..
YAY!!! :D you are finished….


TADA!!!! It looks sooooo good.  (and even better on.)  :)

Friday, November 4, 2011

Headband Part 2

This is where it gets a little tricky… so follow the directions carefully and you will do just fine.  :)

Also…. for the other parts of this post, click here and here.


Take the long strand….
 And place it OVER the small strand...
 It should look like this...
 Now take the small strand...
 And bring it around...
 The loop…..   :)
 Now take the other small strand...
 And push it through the hole… (the one in the middle)
 This one.  :)
 Push it under and then bring it back up...
 See??
 Now SLOWLY pull all 4 ends so it ends up a knot...
 Like this…   :)
See???….. easy.  :)

Thursday, November 3, 2011

Headband Part 1


For this project you will need: Yarn, scissors, a glue gun, and ribbon.  :)

This is your chain that you learned how to make here.  :) You need to make 2 long chains…


 The first one needs to be 160 chains. (roughly)
 To end it, pull your hook out and cut the end...
 Now pull the loop…..
 And pull tight…. easy.  :)
 The next chain needs to be 300! I know, it's alot, but it goes by quick.  :)

Now divide both the separate strands into 3 equal parts...
 Take the longer piece and form it like the pic above...

Then take the smaller strand and put it on top like this….


P.S… to see the finished project, go here.

Chain...

O.K….  In order to make the next really cute project that I am about to post, you will need to master the skill of chaining.  These pics were taken from Klutz's book: Learn How to Crochet.

So, are you ready???  Here we go!!!  You will need… 1. yarn and 2. crochet hook


Just follow the directions from the pictures:::


TADA!!!