Don't forget about flip flops!!!
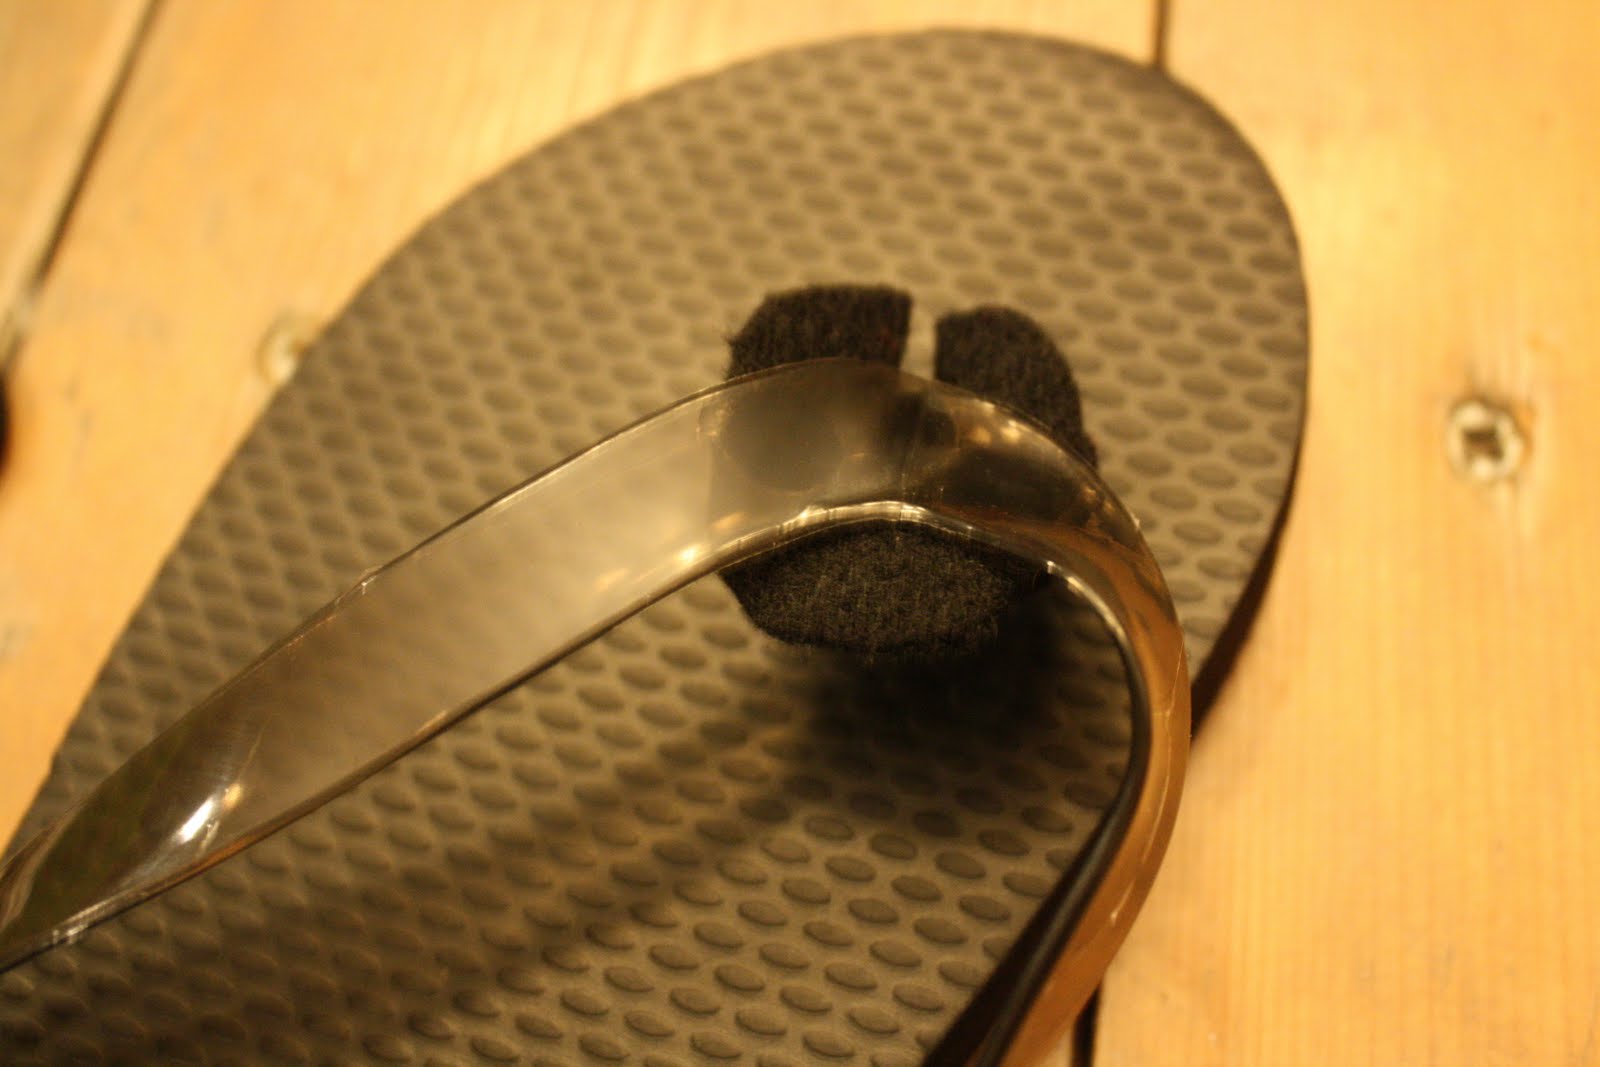
Just take 4 circles of felt...
In 2 of the circles make a cut halfway into it.
Now just put it on the flip flop...
Glue the non cut circle on your bow…..
And now glue the two circles of felt together!
Do this to both flip flops and your'e done. :)
Showing posts with label bow. Show all posts
Friday, September 2, 2011
Thursday, September 1, 2011
Tutorial On Bow On Clip…
Now that you know how to create a bow, and a double bow… you are ready to put it on a clip. With the bigger bows, you can just glue them on clip like this:
Or you can try this….
An alligator clip works best ^
But this was all I had… So, follow along and you can apply these intructions to almost any clip. :)
Do NOT cut a piece of ribbon just yet, because we don't quite know how long we will need it. (Depending on the size of the clip) So… just Put a strip of glue on the free end of ribbon...
Undo the clip and glue it between ...
Now add glue to the other side. (see picture)
And put the ribbon down on that...
Now flip the clip over and add glue to the sides of the clip. NOT the ribbon. ( if you use an alligator clip, you will not have to worry about this)
Now just push the ribbon down over the glue.
Ok… now you can cut your ribbon…. :)
Flip the clip over and add a strip of glue.
Fold the piece of ribbon down into the middle of the clip to finish it off. (once again, this would be much easier with an alligator clip.)
Now make a double bow and stack them on top of the clip… (to learn how to make a double bow, go here)
Cut a short piece of ribbon and put it through the middle of the clip.
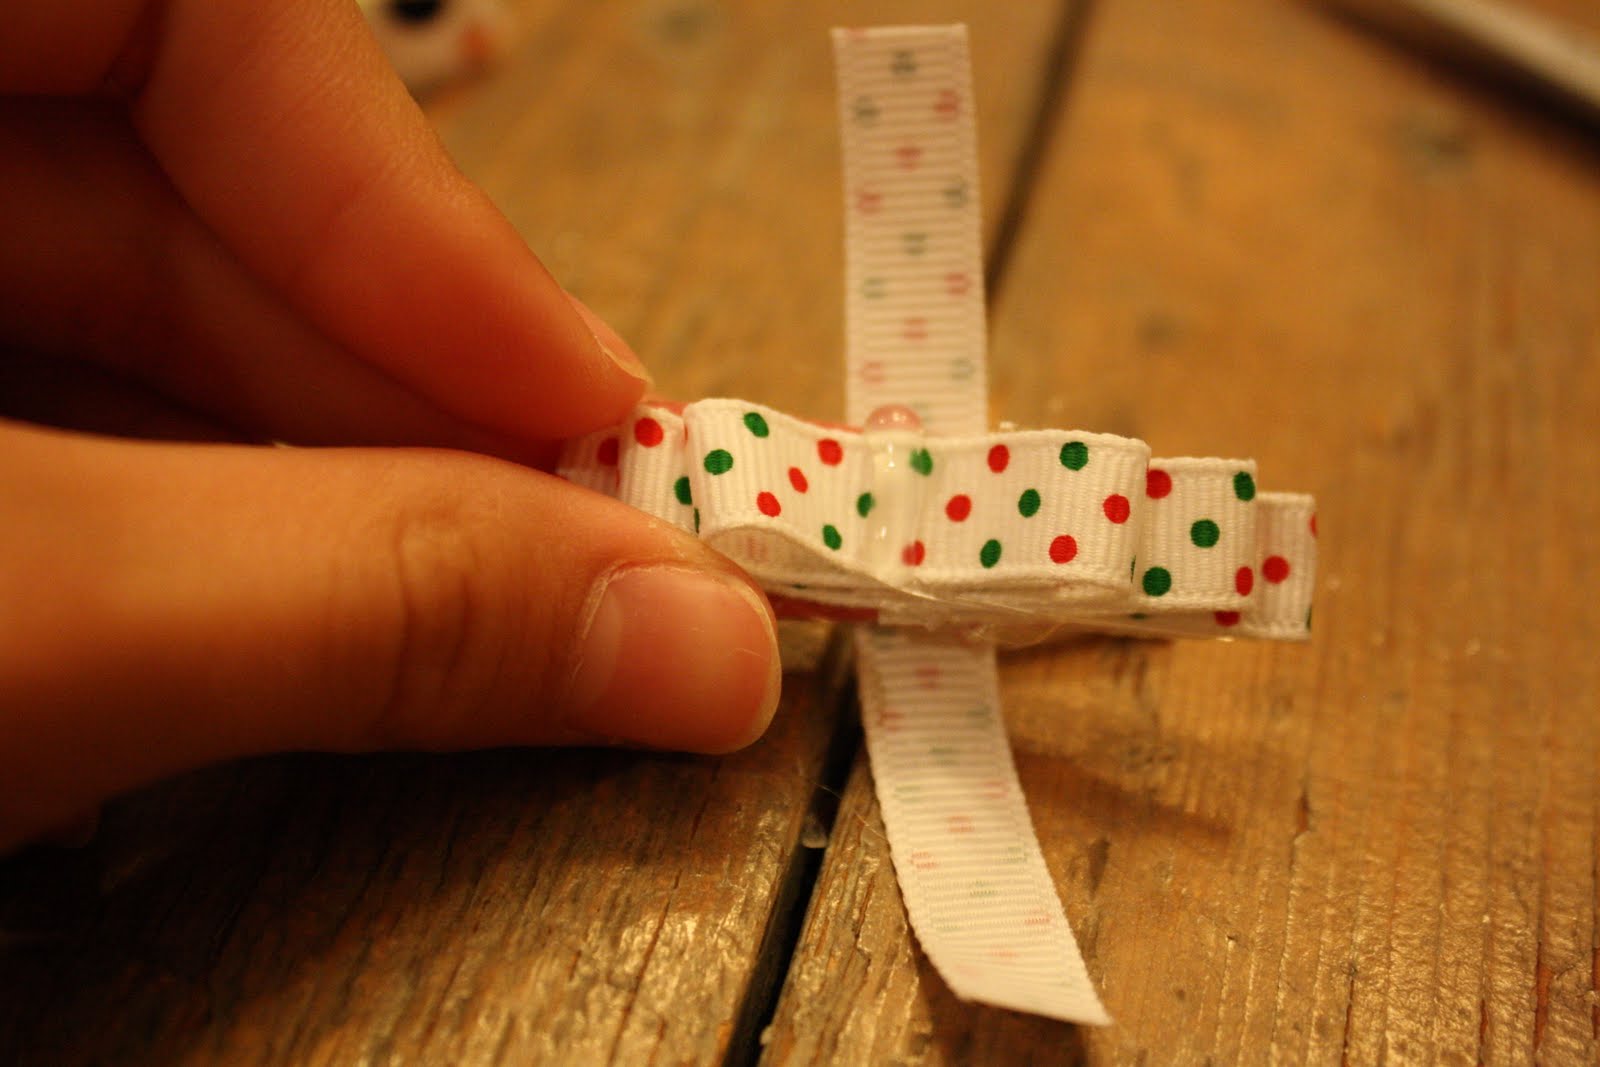
Put glue down and wrap the ribbon around, going through the middle of the clip.
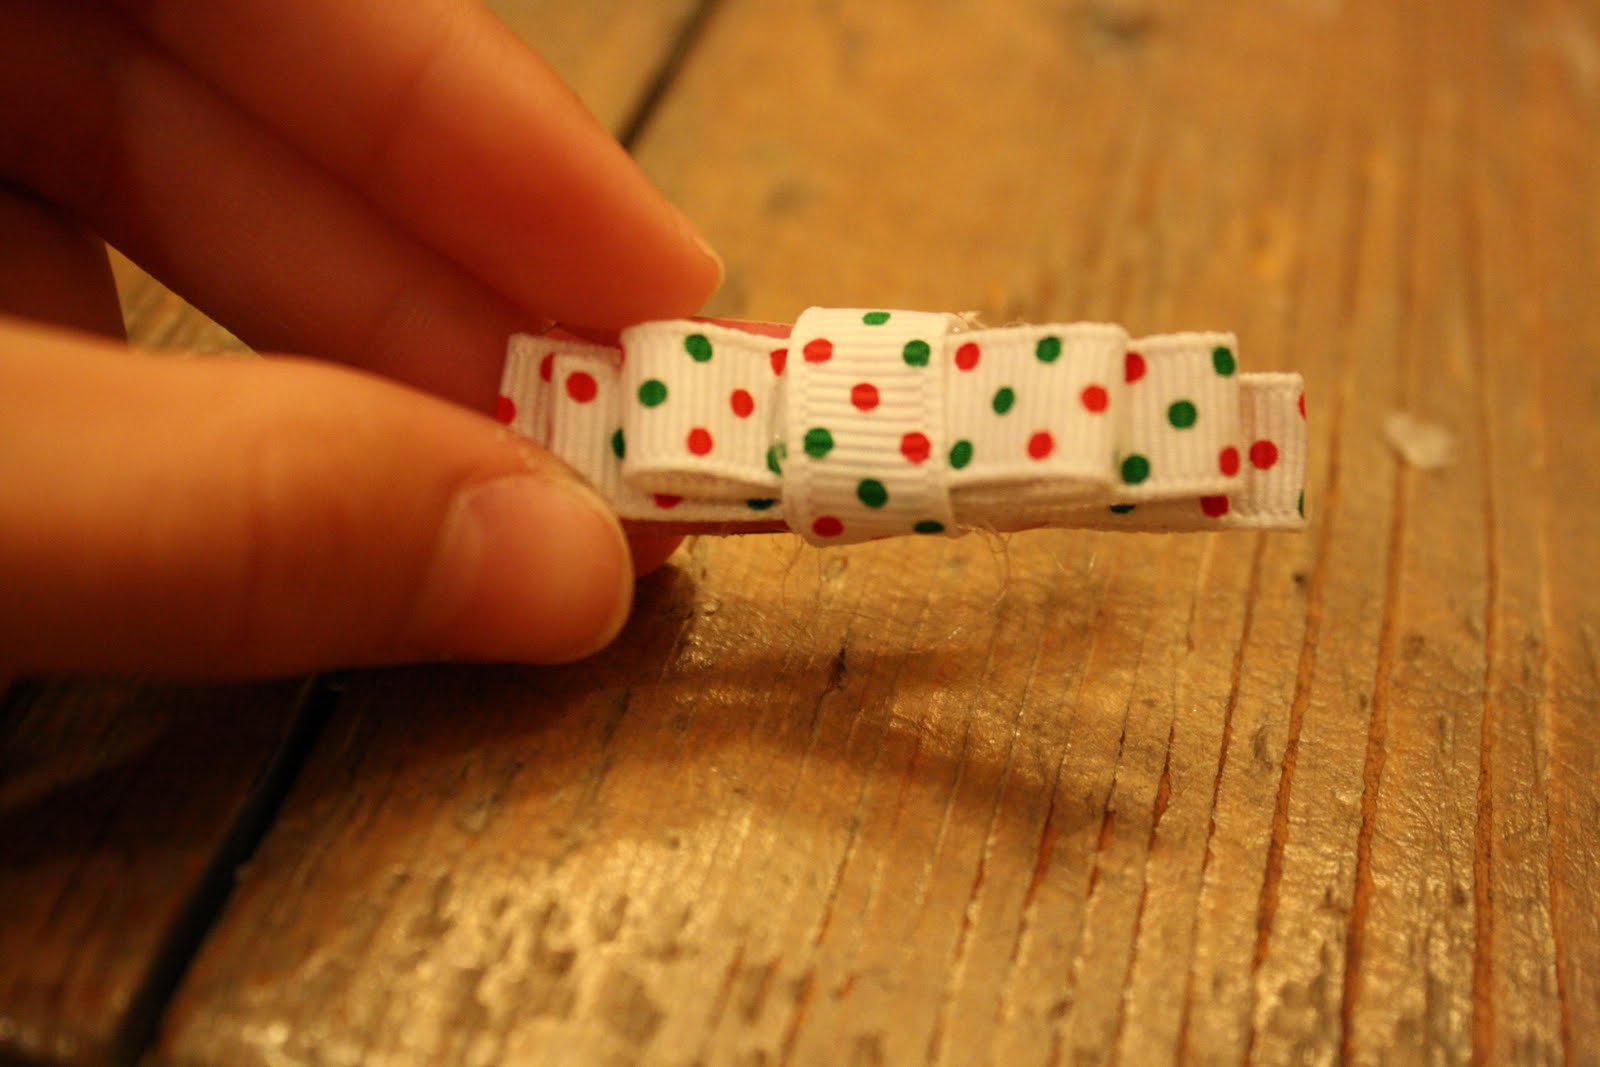
Now your'e DONE!!!
So CUTE!
The alligator clip is on the right, and if you use that, you will have to wrap the ribbon around the clasp (see the left side of the right clip)
Or you can try this….
An alligator clip works best ^
But this was all I had… So, follow along and you can apply these intructions to almost any clip. :)
Do NOT cut a piece of ribbon just yet, because we don't quite know how long we will need it. (Depending on the size of the clip) So… just Put a strip of glue on the free end of ribbon...
Undo the clip and glue it between ...
Now add glue to the other side. (see picture)
And put the ribbon down on that...
Now flip the clip over and add glue to the sides of the clip. NOT the ribbon. ( if you use an alligator clip, you will not have to worry about this)
Now just push the ribbon down over the glue.
Ok… now you can cut your ribbon…. :)
Flip the clip over and add a strip of glue.
Fold the piece of ribbon down into the middle of the clip to finish it off. (once again, this would be much easier with an alligator clip.)
Now make a double bow and stack them on top of the clip… (to learn how to make a double bow, go here)
Cut a short piece of ribbon and put it through the middle of the clip.
Put glue down and wrap the ribbon around, going through the middle of the clip.
Now your'e DONE!!!
So CUTE!
The alligator clip is on the right, and if you use that, you will have to wrap the ribbon around the clasp (see the left side of the right clip)
Tutorial On Double Bow...
Ok. This bow is almost like a normal bow, but it is doubled… (thats why it's called the double bow.)

Now, following the other instructions on how to make a bow, (click here for directions) Make bows out of the medium and large pieces of ribbon...
Add a drop of glue to the large bow...
And put the medium bow on top, pressing gently...
Now take your 2" piece and glue it around both of the bows.
Gluing as you go….
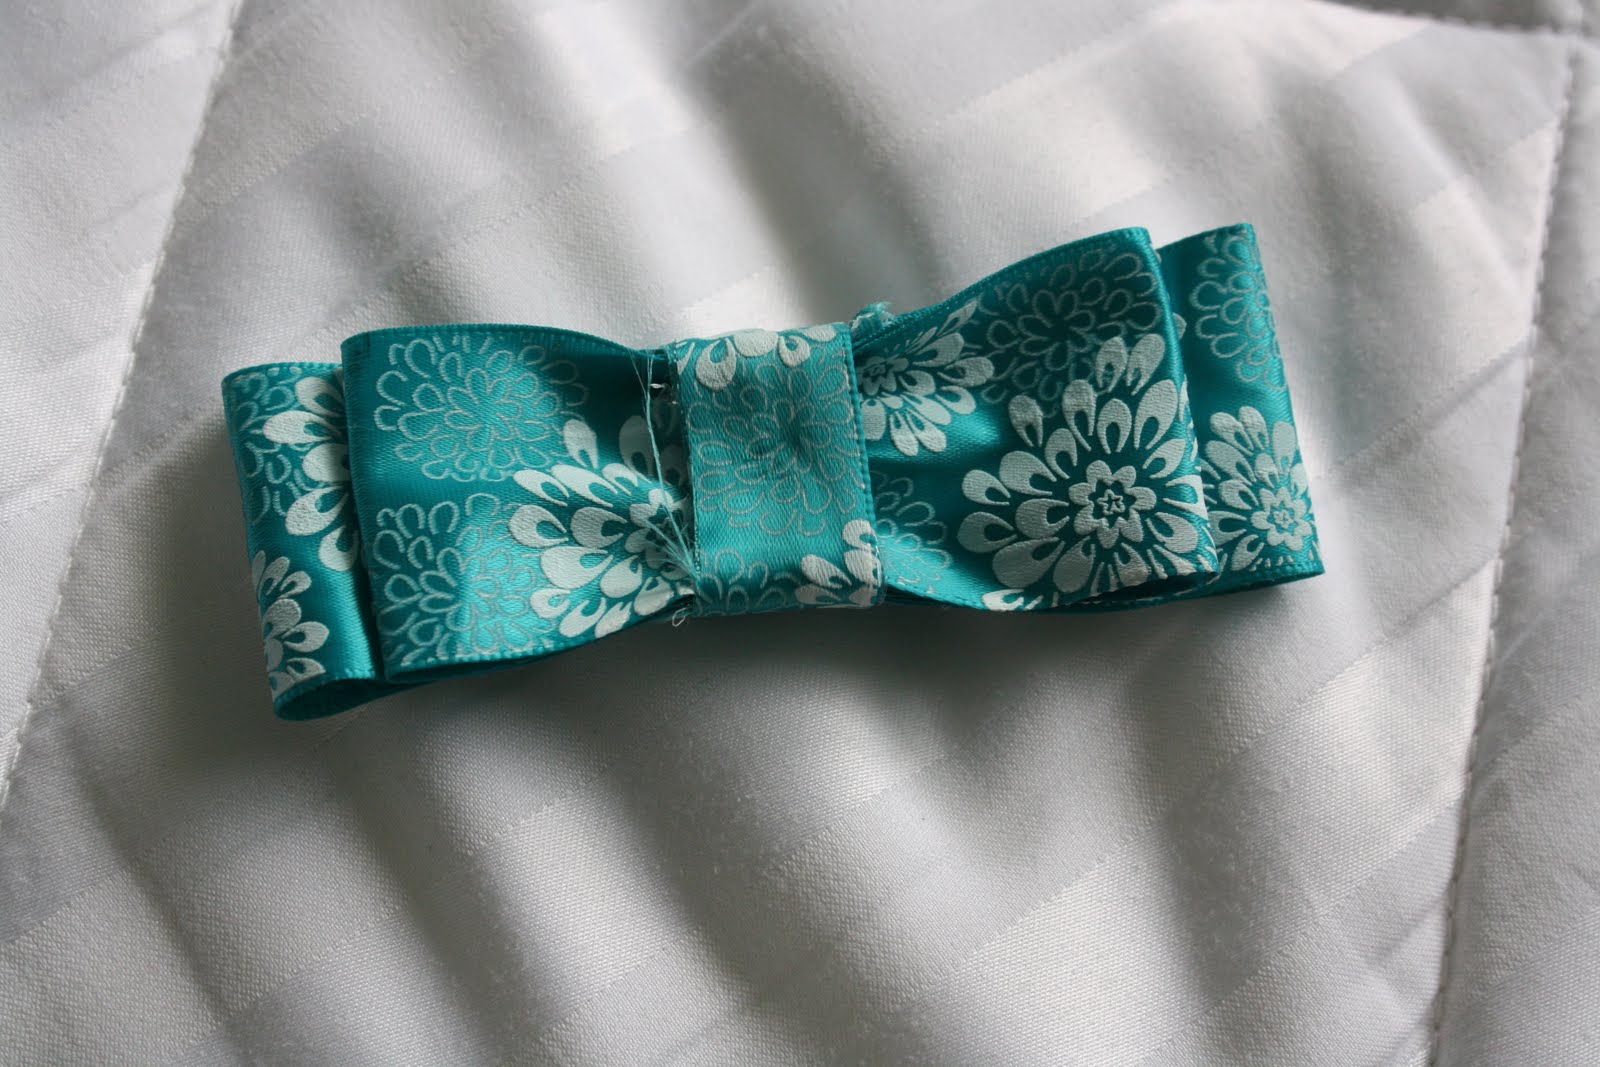
TADA!!! This bow would look so cute with any ribbon… and to wear it in your hair, just attach a clip to the back! :)
Tuesday, August 30, 2011
Tutorial On A Cute Bow….
You will need: Ribbon, Hair Clips, and a Hot Glue Gun...
Cut a piece of ribbon about 6" long.
Then add a drop of glue to the end...
And connect the two ends.
Now, turn it so the two pieces that are connected are on the bottom and add another drop of glue.
Press down………….
Now cut a piece of ribbon about 2" long.
Put a drop of glue on the "squashed" piece……….
And wrap the smaller piece around…..
Adding glue as you go………………..
Press gently…...
This is the back view...
And Voila!!!!
Cut a piece of ribbon about 6" long.
Then add a drop of glue to the end...
And connect the two ends.
Now, turn it so the two pieces that are connected are on the bottom and add another drop of glue.
Press down………….
Now cut a piece of ribbon about 2" long.
Put a drop of glue on the "squashed" piece……….
And wrap the smaller piece around…..
Adding glue as you go………………..
Press gently…...
This is the back view...
And Voila!!!!
Friday, August 12, 2011
Preview...
Here is a preview of the cute bow you are all going to learn how to make! It is so simple… All you need is a glue gun and ribbon.
Subscribe to:
Posts (Atom)