Showing posts with label headband. Show all posts

Saturday, November 5, 2011

Headband Part 3

 Ok… the third and final chapter of this amazing headband!!!  The only other thing you will need is 2 18" pieces of ribbon, (the white) and 2…. 4" pieces of ribbon.   :)   Oh… and a glue gun!


To see the other parts of this tutorial, go herehere, and here.   :)


Now take all of your end yarn pieces and lay them out so none of them are overlapping each other.


Now take your glue gun and glue the ends together!!!


Keep on gluing until all your ends are glued together.  :)


Then snip the ends to make a clean cut… just make sure all the ends stay glued...


 I also glued this part… where my finger is, to keep it from gapping.


                                             SEE???  Much better.  :)


Wrap this ribbon around gluing as you go...

Do this to both ends…. and…..
YAY!!! :D you are finished….


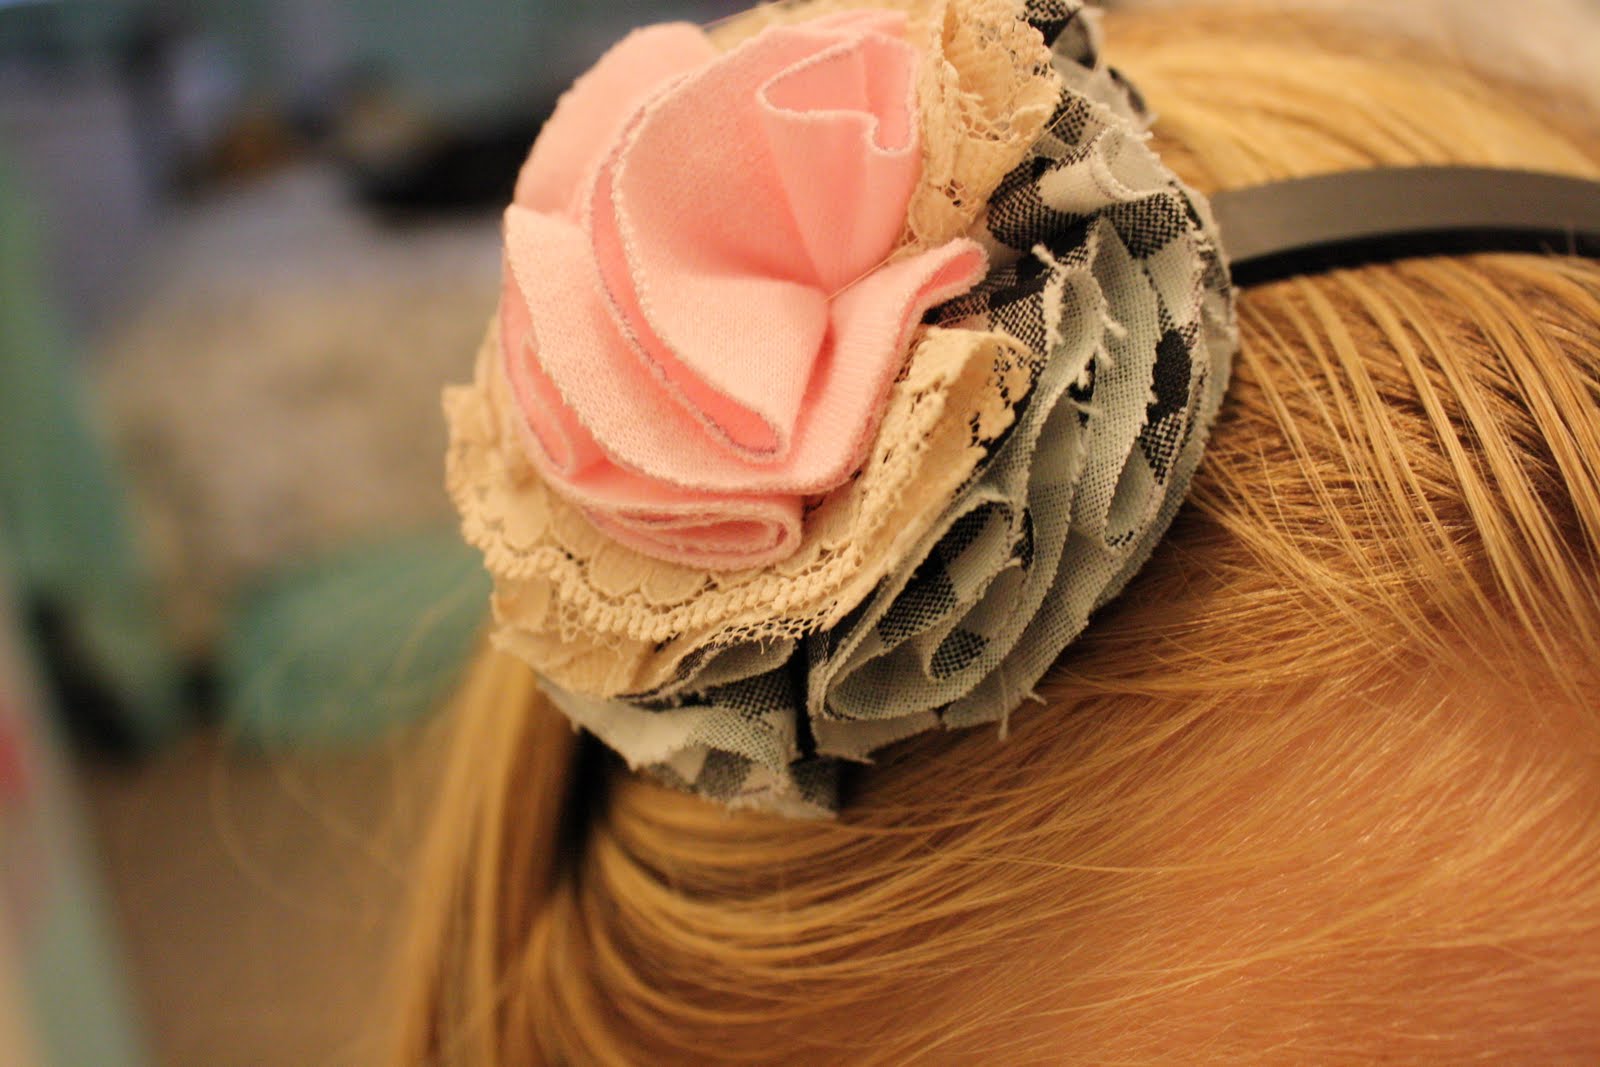
TADA!!!! It looks sooooo good.  (and even better on.)  :)

Friday, November 4, 2011

Headband Part 2

This is where it gets a little tricky… so follow the directions carefully and you will do just fine.  :)
Also…. for the other parts of this post, click here and here.


Take the long strand….
 And place it OVER the small strand...
 It should look like this...
 Now take the small strand...
 And bring it around...
 The loop…..   :)
 Now take the other small strand...
 And push it through the hole… (the one in the middle)
 This one.  :)
 Push it under and then bring it back up...
 See??
 Now SLOWLY pull all 4 ends so it ends up a knot...
 Like this…   :)
See???….. easy.  :)

Thursday, November 3, 2011

Headband Part 1


For this project you will need: Yarn, scissors, a glue gun, and ribbon.  :)

This is your chain that you learned how to make here.  :) You need to make 2 long chains…


 The first one needs to be 160 chains. (roughly)
 To end it, pull your hook out and cut the end...
 Now pull the loop…..
 And pull tight…. easy.  :)
 The next chain needs to be 300! I know, it's alot, but it goes by quick.  :)

Now divide both the separate strands into 3 equal parts...
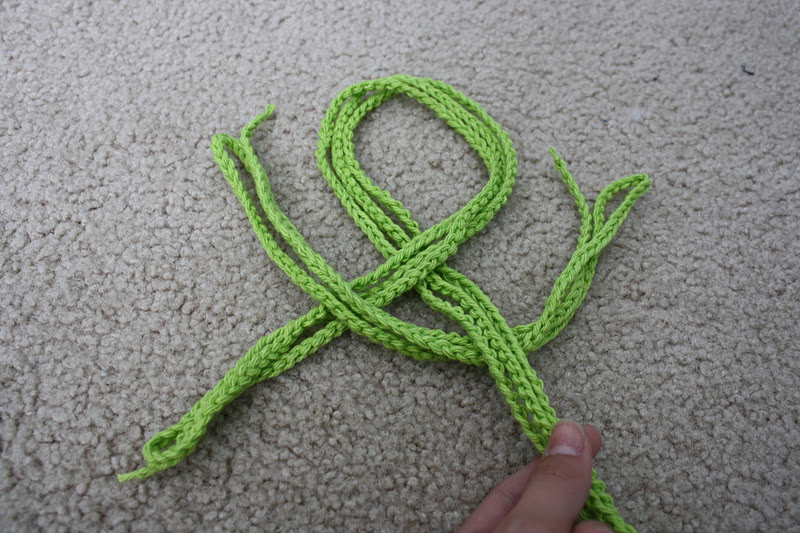
 Take the longer piece and form it like the pic above...

Then take the smaller strand and put it on top like this….


P.S… to see the finished project, go here.

Saturday, September 17, 2011

An Old Craft...

I made this a long time ago, but I have had nothing else to post, so I thought I would just post this. :)

  I will soon post a tutorial on how to make a shredded crayon "stained" glass craft...

Friday, August 12, 2011

Gluing Away...


I have been gluing alot lately. They are so much fun to make, it is hard to stop. There are so many different options!!! I am soon going to post a tutorial on how to make a camera strap cover AND a tutorial on how to make a little (or big) bow. :)……Thanks, Ms. Jill, for the fabric and glue! :)


Sunday, August 7, 2011

Tutorial On Flower Headband

 I am going to show you how to make a very pretty, little flower headband… It is quite simple...
                                          You will need:  A Glue Gun
 An elastic headband, 10-15  3" circles of fabric  (your choice) and 2 little circles of felt.  (Any color)
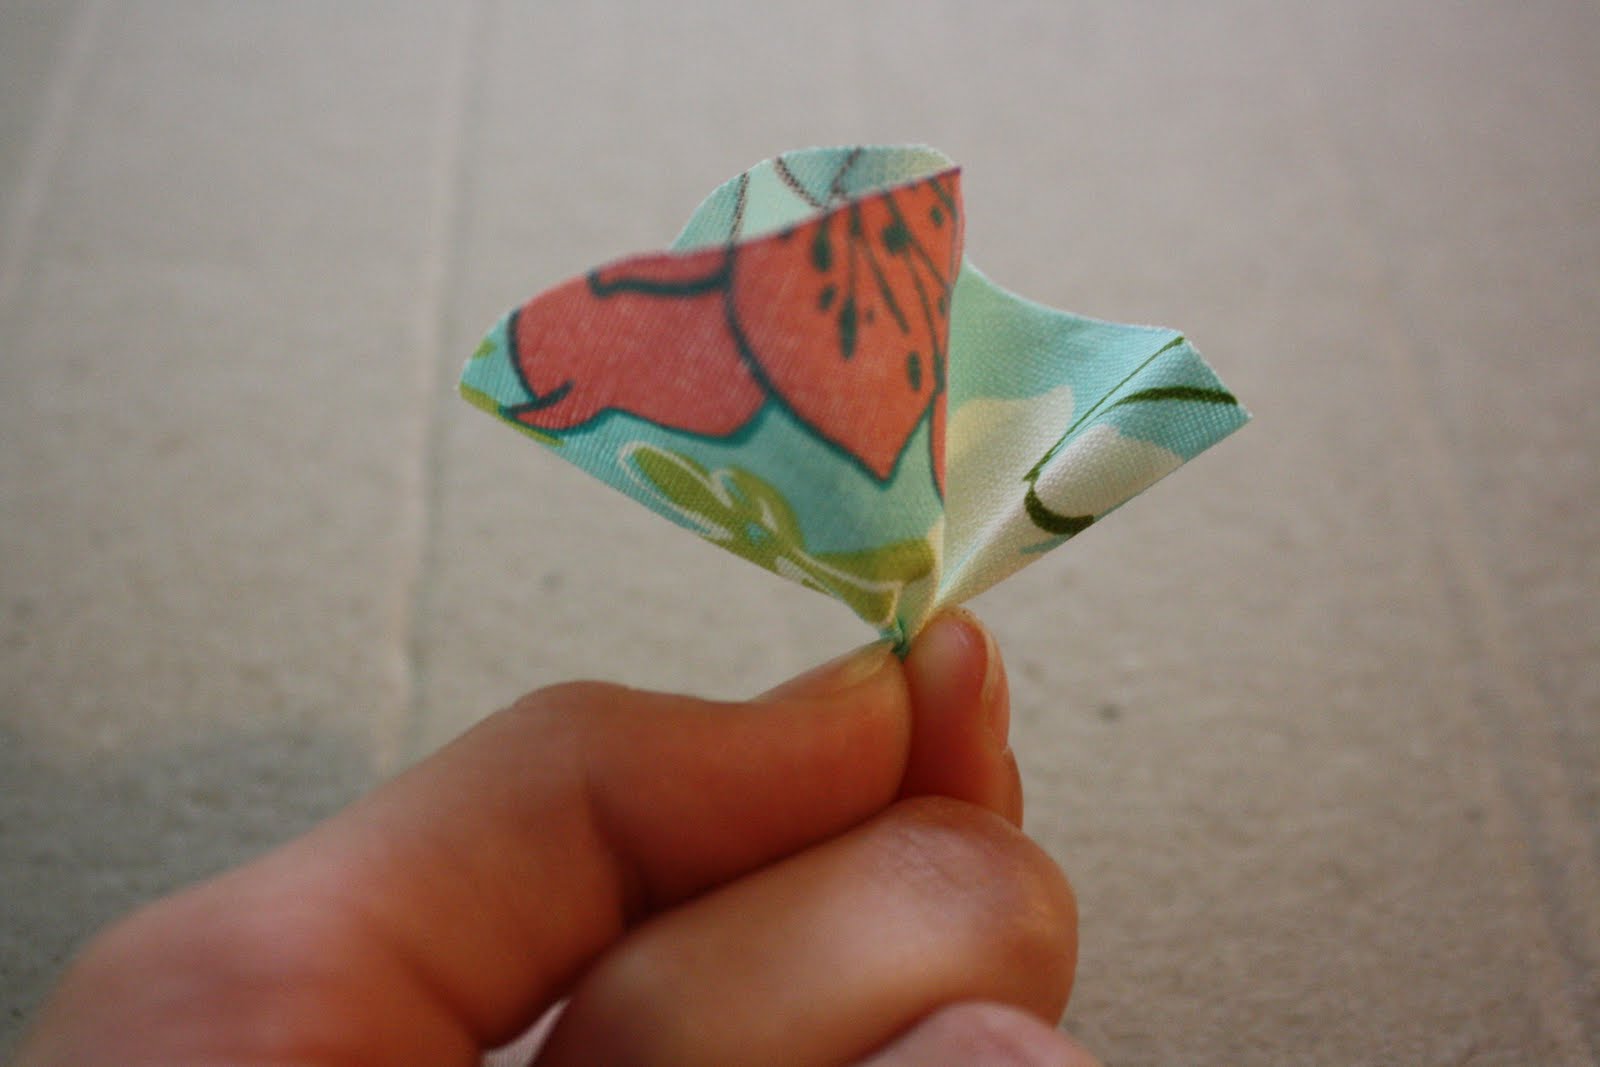
                                           Fold one of the circles in half… pretty side out.
                                         Pinch it in the middle...
                                              And sort of twist it...
                                            Now, on the point at the bottom, put a dab of glue.
                                           And stick it in the middle of one of the felt circles...
                                              Do the same with all the other pieces of fabric...
                                             TADA!!! You have created a full poof.
    Now just glue down anything that you think is necessary, like behind the felt...
                                  Now put the elastic headband down on top of the felt.
 Put a big dot of glue on the other circle of felt and place it on top, like a sandwich...
                                           WOW!!! Now it looks really good…   :)
You could even put a button in the center, just take a needle and thread and sew it on… Everyone knows how to sew a button, right???