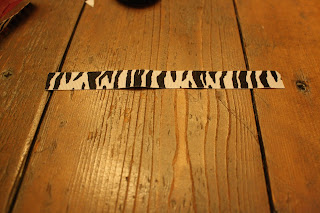
You will need: Ribbon, Hair Clips, and a Hot Glue Gun...
Cut a piece of ribbon about 6" long.
Then add a drop of glue to the end...
And connect the two ends.
Now, turn it so the two pieces that are connected are on the bottom and add another drop of glue.
Press down………….
Now cut a piece of ribbon about 2" long.
Put a drop of glue on the "squashed" piece……….
And wrap the smaller piece around…..
Adding glue as you go………………..
Press gently…...
This is the back view...
And Voila!!!!
Tuesday, August 30, 2011
Tuesday, August 16, 2011
Oh Starry Night...
This was an old canvas that I painted awhile back…... I didn't like the way it turned out, so I decided to paint over it. :)
All white….
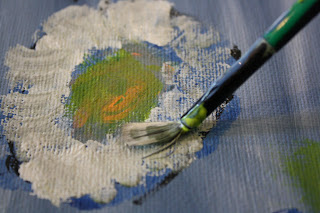
Now lets add some blue...
Long strokes……………….
TADA! The perfect backdrop….
Lets make a rough draft...
And now, lets paint with some dark blue, and make stars!!!
Don't forget the swirls. :)
Add blue to the bottom….
And black...
Now add some yellow to the stars…And swirlies. :)
Now add some depth to the bottom with black and gray...
Add some black to the outer edge of the stars...
And the swirlies….
You can make anything that is already black, blacker. :)
Now lets start on the bottom portion… lets add some "houses"...
And some "mountains"….
Now lets add some "color" to the houses…..
Now add some light green to the top of the bottom half...
Beautiful….
Now add white all around the stars...
Put an orange moon in the big star on the top right, then add some blue around it….
Don't forget to add some blue to the stars too. :)
NOW YOU'RE…………. DONE!!!!
How does it compare to the original???
Friday, August 12, 2011
Preview...
Here is a preview of the cute bow you are all going to learn how to make! It is so simple… All you need is a glue gun and ribbon.
Gluing Away...
I have been gluing alot lately. They are so much fun to make, it is hard to stop. There are so many different options!!! I am soon going to post a tutorial on how to make a camera strap cover AND a tutorial on how to make a little (or big) bow. :)……Thanks, Ms. Jill, for the fabric and glue! :)
Sunday, August 7, 2011
Tutorial On Flower Headband
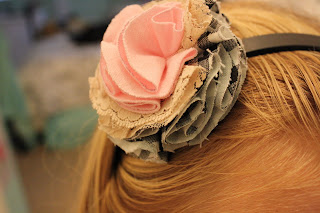
I am going to show you how to make a very pretty, little flower headband… It is quite simple...
You will need: A Glue Gun
An elastic headband, 10-15 3" circles of fabric (your choice) and 2 little circles of felt. (Any color)
Fold one of the circles in half… pretty side out.
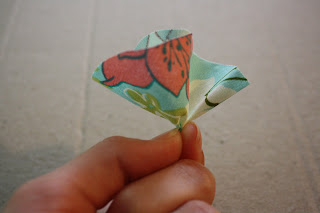
Pinch it in the middle...
And sort of twist it...
Now, on the point at the bottom, put a dab of glue.
And stick it in the middle of one of the felt circles...
Do the same with all the other pieces of fabric...
TADA!!! You have created a full poof.
Now just glue down anything that you think is necessary, like behind the felt...
Now put the elastic headband down on top of the felt.
Put a big dot of glue on the other circle of felt and place it on top, like a sandwich...
WOW!!! Now it looks really good… :)
You could even put a button in the center, just take a needle and thread and sew it on… Everyone knows how to sew a button, right???
Subscribe to:
Comments (Atom)


